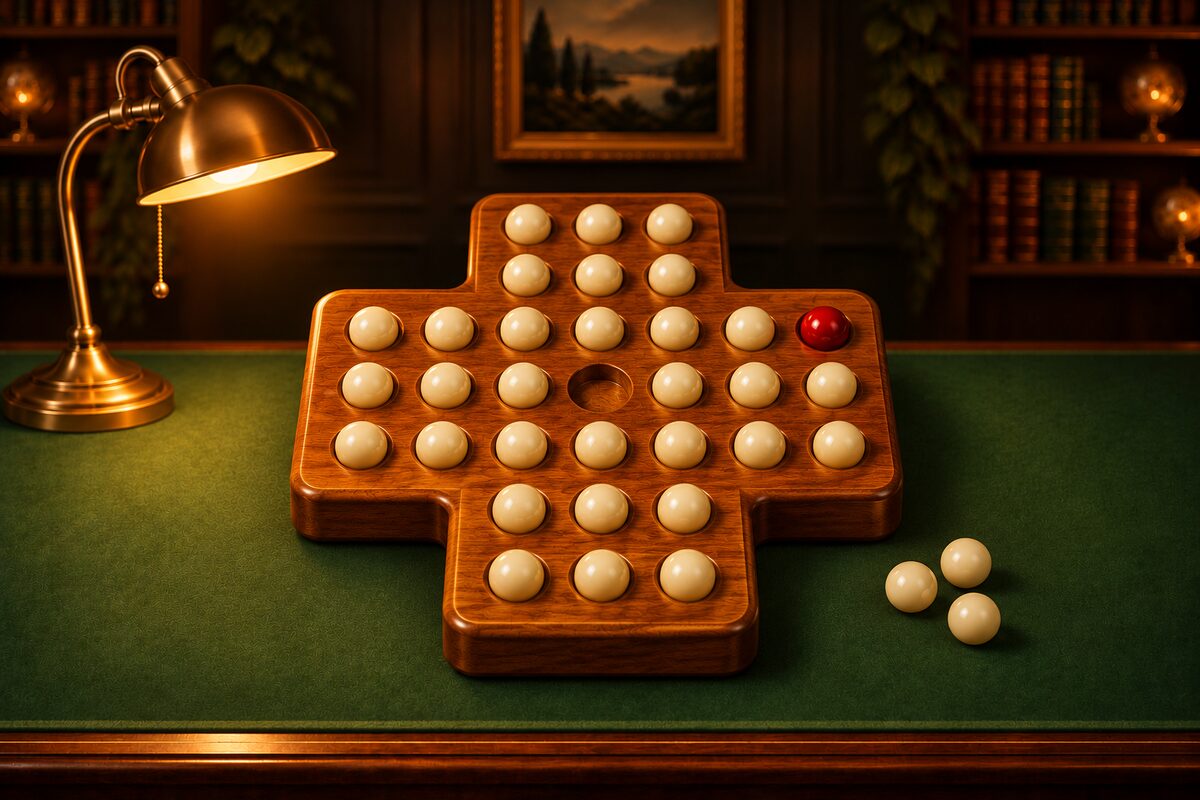
The cross-shaped English 33-hole board has four arms. The tip of each arm is six holes arranged in two rows of three. If pegs are left there, they take effort to get out (the pegs in the corners at the tip of an arm can’t be jumped by other pegs; see the tips article).
This article shows a shape that clears all 6 pegs at the tip of an arm at once. The hole names (columns a to g, rows 1 to 7) are the same as in the solving article.
Shape 1: One Helper Beside the Base of the Arm
The 6 pegs of the top arm (c1 to e2) are all there, there is one peg on c3, at the base of the arm (the helper), and d3 and e3, next to it, and c4, below c3, are empty.
From here, in 6 moves, all 6 pegs of the arm disappear, and just one peg is left on c3, where the helper was.
- Move 1 d1→d3
- Move 2 e1→e3
- Move 3 c2→c4
- Move 4 e3→c3
- Move 5 c4→c2
- Move 6 c1→c3
- After move 6 Pegs left: 1
- Moves 1 and 2: Bring d1 and e1 from the top row down to row 3.
- Move 3: Let c2 escape to the empty hole c4.
- Moves 4 to 6: Use the pegs you brought down and the peg that escaped to clear the rest. At the end, the peg on c1 jumps over c2 and lands on c3.
In 6 moves you remove 6 pegs, and only the helper is left.
Shape 2: One Helper Below the Base of the Arm
This time, the helper is on c4, at the base of the arm, and row 3 (c3, d3, e3) is empty.
Here too, in 6 moves the 6 pegs of the arm disappear, and the helper ends up back on c4.
- Move 1 c1→c3
- Move 2 d1→d3
- Move 3 e1→e3
- Move 4 c4→c2
- Move 5 e3→c3
- Move 6 c2→c4
- After move 6 Pegs left: 1
- Moves 1 to 3: Bring the three pegs of the top row down to row 3.
- Moves 4 to 6: While the helper jumps to c2 and then back to c4, you clear the rest.
Works on Any Arm, and Mirrored
The cross-shaped board looks the same when you rotate or flip it. So these two shapes can be used with the same moves
- on any of the four arms: top, bottom, left, or right,
- and whether the helper is on the left or on the right (such as e3 or e4),
by rotating or flipping the board.
Things to Watch For
- The surrounding holes must be empty: For Shape 1, d3, e3, and c4 must be empty, and for Shape 2, c3, d3, and e3 must be empty, or these moves can’t be played. Before you clear an arm, empty the holes around its base.
- One peg is left in the helper’s hole: When the 6 moves are done, just one peg is left in the hole where the helper was. You can use that peg again in later moves.
- Don’t move the other pegs: These 6 moves use only the 6 pegs of the arm and the helper. Don’t touch pegs elsewhere on the board.
If you remember “set shapes that clear a group of pegs at once” like these, it becomes easier to see where to start clearing, even on a big board.