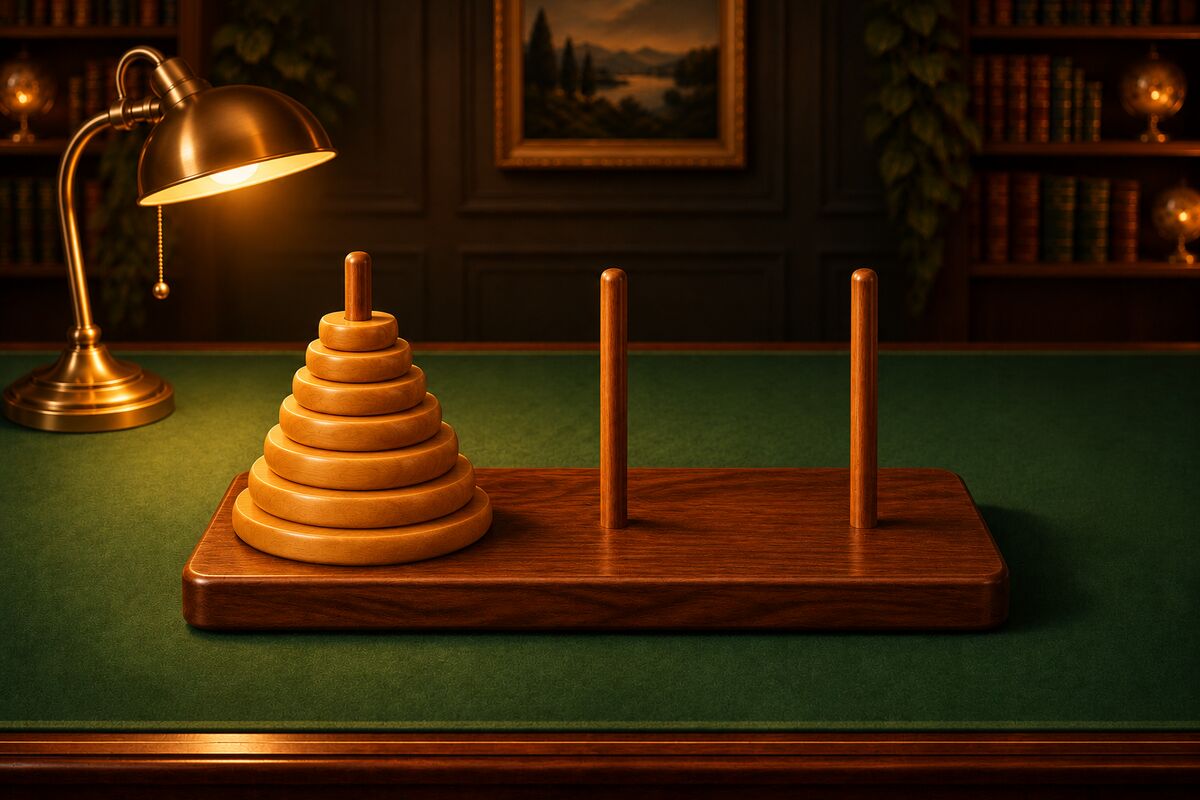
You can play the Tower of Hanoi with disks of different sizes and three places to put them. You can make one from everyday materials without buying a toy. Here are three ways to make one, in order of ease.
The Easiest: Make It from Cardboard
In this version, you do not use poles; the places are three circles drawn on paper. It takes about 15 minutes to make.
Materials and tools
- Cardboard (craft paper, or the paper of a snack box)
- A compass (if you do not have one, trace circles around cups or lids of different sizes)
- Scissors, colored pencils or pens
- Paper for the places (one sheet of A4 paper)
How to make it
- On the cardboard, draw circles whose diameters differ by 1 cm each. At first, 3 to 5 is recommended. For example, with 5 disks, the diameters are 4 cm, 5 cm, 6 cm, 7 cm and 8 cm.
- Cut out the circles and write the numbers 1, 2, 3… on them from smallest to largest. Different colors make them easier to tell apart.
- Lay the A4 paper sideways and draw three circles, left, middle and right, each big enough for the largest disk.
- Stack the disks on the left circle, largest first, and you are done.
With no poles, you have to keep the stacking order yourself. Play while keeping in mind “only the top one can be moved.”
The Real Thing: A Wooden-Pole Tower of Hanoi from 100-Yen Shop Supplies
This is a Tower of Hanoi in the same form as a toy, with holes in the disks and the disks threaded onto poles. You can make it with an adult in 1 to 2 hours. (A 100-yen shop is a Japanese dollar store.)
Materials and tools
- A board for the base (about 30 cm long and 10 cm wide)
- 3 round poles (about 8 mm thick, 12 to 15 cm long)
- Material for the disks: several sheets of cardboard glued together, thin wooden boards, cork coasters and so on
- A tool for making holes as thick as the poles (an awl, a hole punch, making a pilot hole with an awl and then widening it, and so on)
- Wood glue, scissors or a utility knife, sandpaper
How to make it
- On the base board, decide where the left, middle and right poles will stand, 10 cm apart.
- Make holes for the poles, stand the poles with glue, and let them dry.
- Make the disks in slightly different diameters. The largest disk should be smaller than the distance between poles (10 cm).
- Make a hole slightly larger than the pole in the center of each disk. A hole that lets the disk slide through easily is just the right size.
- Sand the cut edges and paint them, and you are done.
Have an adult do the parts that use a utility knife or awl. You can get the materials in the craft or woodworking aisles of a 100-yen shop, but the selection differs from store to store.
Play Right Away: With Coins from Home
If you want to try it right now, you can use coins instead of disks. Japanese coins differ slightly in size.
| Disk | Coin | Diameter |
|---|---|---|
| 1 (the smallest) | 1-yen coin | 20.0 mm |
| 2 | 50-yen coin | 21.0 mm |
| 3 | 5-yen coin | 22.0 mm |
| 4 | 100-yen coin | 22.6 mm |
| 5 | 10-yen coin | 23.5 mm |
| 6 (the largest) | 500-yen coin | 26.5 mm |
Draw three circles on paper as the places, and stack the coins on the left circle starting with the 500-yen coin, and you have a Tower of Hanoi with 6 disks. The differences in size are small, so checking “which one is larger” as you play is also good mental exercise. It is easier to understand if you start with just the three coins 1 yen, 5 yen and 10 yen. If you use coins from another country, line them up from smallest to largest in the same way.
Once You Have Made It, Play
There are only three rules.
- You can move only one disk at a time.
- You can move only the top disk at each place.
- You must not put a large disk on a small disk.
When you have moved the left tower entirely to the right, you are done. The fewest moves is 7 for 3 disks, 15 for 4 disks and 31 for 5 disks. The method is in the article on how to solve it. If you record the moves with the Tower of Hanoi you made, it can also be a science project.